Classic cheesecake is an incredible shortbread dessert with cottage cheese or cheese filling. The texture of the filling in some versions resembles a casserole, and in others it resembles a soufflé. The selection includes popular recipes, with options both with and without baking. The desserts look amazing. Any event with such a delicacy will turn into a celebration.
- Classic cheesecake with cottage cheese and cookies without baking
- Homemade cheesecake baked in the oven
- Classic New York cheesecake
- No-bake cheesecake with cream cheese
- Chocolate cheesecake
- No-bake cheesecake with gelatin
- Japanese cotton cheesecake
- No-bake cheesecake with ricotta
- Strawberry cheesecake
- PP cheesecake at home
Classic cheesecake with cottage cheese and cookies without baking
Classic cheesecake with cottage cheese and no-bake cookies looks very beautiful. The dessert is ideal for holidays and unexpected events. The technology does not require much time. Everything is as simple and interesting as possible. Surely anyone can implement the recipe.

- Cookie 150 (grams)
- Dark chocolate 40 gr
- Granulated sugar 150 (grams)
- Vanilla sugar 2 (teaspoons)
- Cow's milk 100 (milliliters)
- Strawberry 5 (things)
- Sour cream 150 (grams)
- Cottage cheese 600 (grams)
- Butter 80 (grams)
- Gelatin 15 gr. (powder)
-
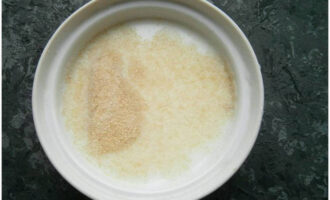
Classic cheesecake can be easily prepared at home. Pour 15 grams of powdered gelatin with milk and let it swell for 15 minutes.
-
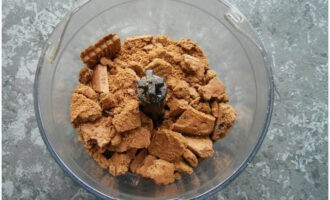
We break the cookies into pieces and place them in the chopper container. Pulse the cookies into crumbs.
-
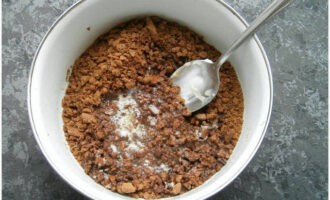
Melt the butter and let cool. Place the sand crumbs in a bowl and pour over the cooled butter. Mix well until smooth.
-
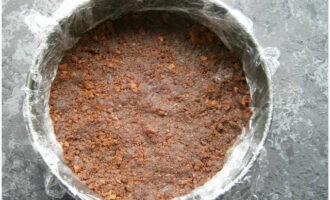
Line the springform pan with cling film. Unload the dough and form the base. Having compacted it well, place the workpiece in the cold to set.
-
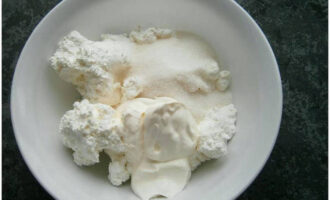
Combine cottage cheese with sour cream, flavor with regular and vanilla sugar.
-
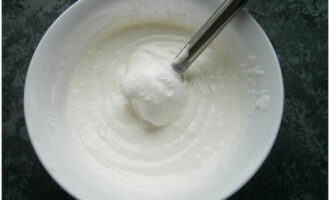
Punch until smooth using a submersible tool.
-
Dissolve the swollen gelatin in pulses in the microwave or the old-fashioned way - in a water bath, without allowing the mixture to boil.
-
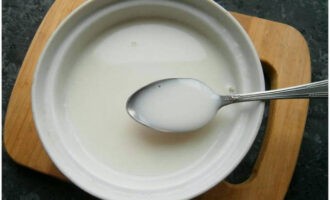
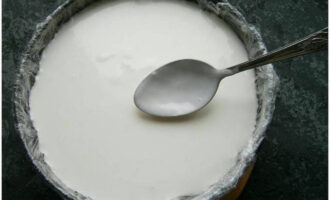
Pour the melted gelatin over the curd filling. Stir thoroughly. You will get a liquid mixture. Carefully pour it onto the frozen cookie base.
-
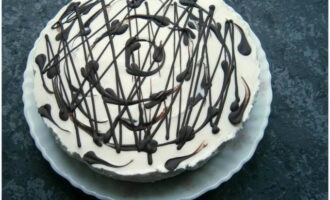
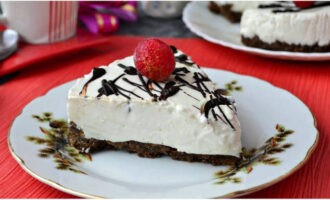
Place the cheesecake in the freezer and let sit for about one hour. Then decorate with melted chocolate. Place the curd dessert in the refrigerator for 3 hours. Then we release the delicacy from the mold and film and transfer it to a serving dish.
-
We complement the classic cheesecake with berries. To ensure even pieces of treats, soak a knife in boiling water and cut. Bon appetit!
Homemade cheesecake baked in the oven
Homemade oven baked cheesecake requires little effort compared to no-bake recipes. The sandy base combined with the most delicate filling delivers unforgettable emotions. It is possible to prepare dessert without any previous experience. The recipe will succeed even if you cook it for the first time.
Cooking time – 3 hours 00 minutes
Cooking time - 30 min.
Portions – 6
Ingredients:
- Cookies – 200 gr.
- Butter – 100 gr.
- Powdered sugar – 150 gr.
- Vanilla sugar – 1 tsp.
- Cream 33-38% – 150 ml.
- Chicken eggs – 3 pcs.
- Cream cheese – 600 gr.
Cooking process:
Step 1. First of all, take the cream cheese, eggs and cream out of the refrigerator. The ingredients must be at the same temperature. Turn on the oven to warm up to 160°C. Break the cookies and cut the soft butter into cubes. Unload into the container of a blender or food processor.
Step 2. Grind the components until smooth.
Step 3. The mass should gather well into a lump and be plastic.
Step 4. Take a springform pan and distribute the plastic dough. We compact the bottom well and form high sides.
Step 5. Place the dough in the oven and bake for 10 minutes. Carefully remove and cool completely.
Step 6. Place the cream cheese in a tall bowl and pour in the powdered sugar. Gently stir until smooth.
Step 7. Flavor with vanilla sugar.
Step 8. Add the eggs one at a time and combine well.
Step 9. Mix the mixture with a whisk and do not beat it under any circumstances.
Step 10. Pour in the cream and stir until smooth.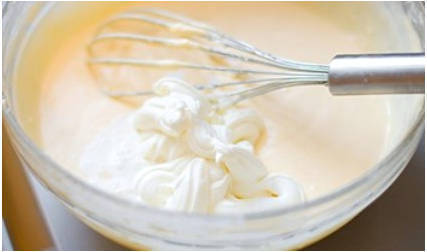
Step 11. An important condition is heavy cream.
Step 12. We pack the mold with the base in a double layer of foil and place it in a deep container. Spread the creamy filling.
Step 13. Pour boiling water into the container so that the liquid level is 3 centimeters high. Place in the oven and bake for 1 hour 10 minutes.
Step 14: The center of the finished cheesecake should still be movable. After turning off the oven and opening it slightly, let it stand for an hour so that there are no cracks. If you have time, leave until the oven has cooled completely. Remove the dessert from the container and unwrap the foil. Place in the refrigerator for 2 hours.
Step 15. After stabilization, carefully remove the product from the mold by running a knife along the walls.Place on a plate and decorate as desired. Bon appetit!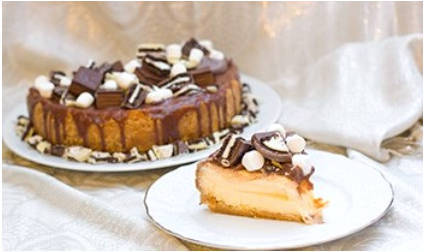
Classic New York cheesecake
The classic New York cheesecake delivers an unforgettable experience, but the preparation requires a little “magic.” The dessert is suitable not only for everyday events, but also for festive events. If you've been tired of cottage cheese casseroles for a long time, you should undoubtedly use this amazing recipe.
Cooking time – 6 hours 00 minutes
Cooking time - 30 min.
Portions – 8
Ingredients:
- Shortbread cookies – 300 gr.
- Butter – 150 gr.
Filling:
- Granulated sugar – 120 gr.
- Vanilla sugar – 10 gr.
- Cream 33-38% – 150 ml.
- Chicken eggs – 2 pcs.
- Cream cheese – 500 gr.
- Flour – 20 gr.
- Lemon juice – 1 tbsp.
- Canned peaches – optional.
Cooking process:
Step 1. Prepare the products.
Step 2. Grind the cookies into crumbs using a blender or food processor. Turn on the oven at 160°C.
Step 3. Melt the butter until liquid and cool. Pour into the cookies and knead well until elastic, using kitchen appliances.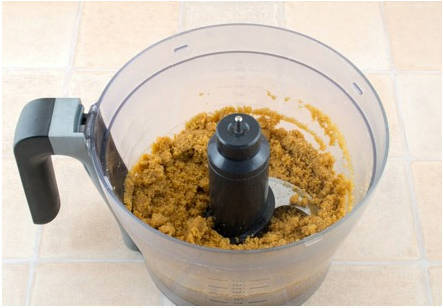
Step 4. Pour the mixture into the mold and form the base, tamping the bottom and sides. Let the base bake for 10 minutes.
Step 5. Carefully take out the workpiece and cool it.
Step 6. Place the cream cheese in a container and knead it using improvised means - a whisk or a spoon.
Step 7. Add eggs and lemon juice. Add flour, regular sugar and vanilla sugar. Knead until smooth, without beating the mixture so that air does not form and cracks do not appear after baking.
Step 8. Pour in the cream and bring until smooth.
Step 9. Wrap the mold with a sand base in several layers of foil.
Step 10Pour the creamy filling onto the base and let it distribute evenly with scrolling movements.
Step 11. Place the mold in a deep fireproof container. Pour boiling water. The water level should reach half the height of the mold. Place in a hot oven, set to lower heat and bake for 1 hour 20 minutes at 160°C. The center of the product must be movable. Cool in the oven turned off with the door ajar.
Step 12. Use a knife to separate the cooled cheesecake from the walls of the pan.
Step 13. Place the baked goods in the refrigerator overnight or at least 4 hours. Then transfer to a serving platter.
Step 14. Decorate with fruits or berries at your discretion. Bon appetit!
No-bake cheesecake with cream cheese
No-bake cheesecake with cream cheese practically melts in your mouth. The most delicate texture and sandy base are ideal in the ensemble. A light, almost weightless dessert that is very popular both during the holidays and in everyday life. Everyone can master the recipe.
Cooking time – 2 hours 30 minutes
Cooking time – 35 min.
Portions – 8
Ingredients:
- Shortbread cookies – 250 gr.
- Butter – 70 gr.
- Powdered sugar – 150 gr.
- Vanilla sugar – 25 gr.
- Cream 33-35% – 200 ml.
- Gelatin – 15 gr.
- Curd cheese – 400 gr.
- Water – 100 ml.
Cooking process:
Step 1. Prepare the products. Curd cheese should be at room temperature. We use shortbread cookies at our discretion. I recommend taking baked milk flavored products.
Step 2. After breaking the cookies into pieces, put them in a chopper and grind them into crumbs.
Step 3. Pour the sand crumbs into the bowl. Melt the butter and cool. Pour over the cookies.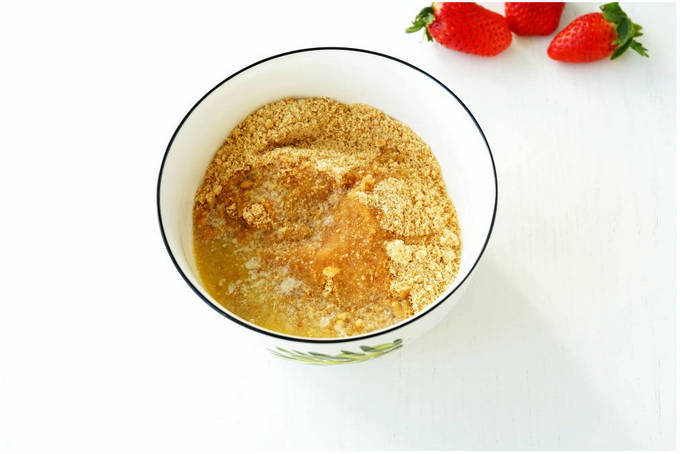
Step 4. Mix well with a spatula.The mass should mold well.
Step 5. Take a springform pan of suitable diameter. We line the bottom with film to make it easier to remove the finished product. Distribute the base along the bottom and compact it with your hands or the bottom of a glass. Place in the refrigerator to harden the cake.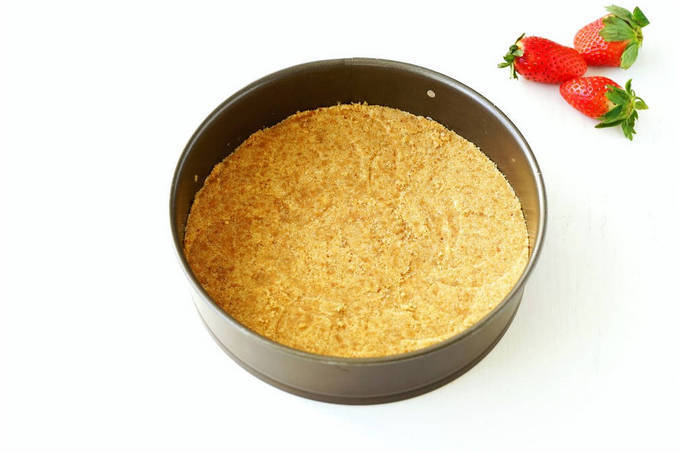
Step 6. Pour 15 grams of gelatin with 100 milliliters of cold water and let it swell. Each package of gelatin indicates the required proportions.
Step 7. Place the curd cheese in a bowl, add powdered sugar and vanilla sugar.
Step 8. Knead the mass well with a mixer at minimum speed or use a hand tool.
Step 9. After adding cream, beat with an electric appliance for 1.5 minutes until smooth.
Step 10. Dissolve the swollen gelatin in the microwave in pulses and add it to the whipped mixture in several stages, stirring quickly.
Step 11. Distribute the curd mass over the frozen sand base. Refrigerate for 2 hours.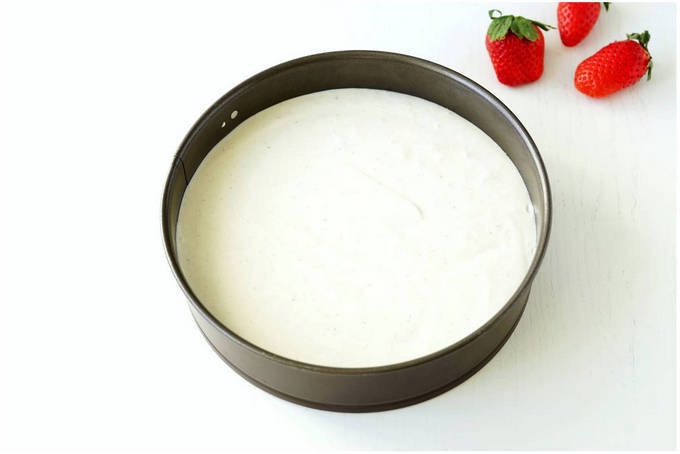
Step 12. After a while, carefully remove the detachable sides and move them to a plate.
Step 13. Decorate the cheesecake at your discretion. Bon appetit!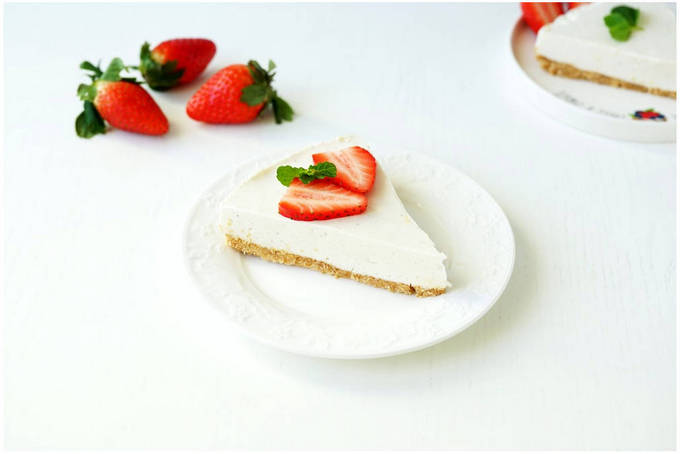
Chocolate cheesecake
The chocolate cheesecake looks incredibly beautiful. Chocolate lovers will be speechless just by looking at it. Preparing the dessert is not difficult, but you still have to make an effort. The attractive appearance of the delicacy will not leave anyone indifferent. Even those who do not like sweets will be stunned by the unique taste.
Cooking time – 3 hours 00 minutes
Cooking time - 20 minutes.
Portions – 8
Ingredients:
- Chocolate shortbread cookies – 400 gr.
- Butter – 180 gr.
Filling:
- Granulated sugar – 100 gr.
- Chicken eggs – 3 pcs.
- Cream 33-35% – 150 ml.
- Chocolate – 100 gr.
- Curd cheese – 500 gr.
Ganache:
- Butter – 20 gr.
- Cream 33-35% – 100 ml.
- Chocolate – 150 gr.
Cooking process:
Step 1. Prepare the ingredients.
Step 2. Melt the butter.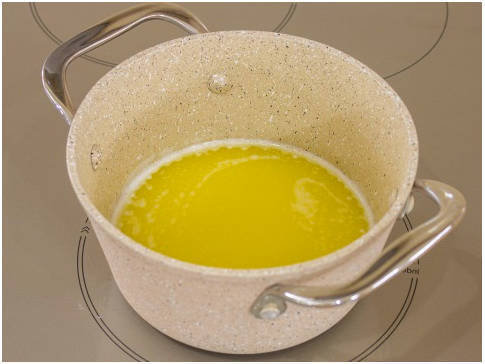
Step 3. Break the chocolate cookies into pieces and place them in a food processor bowl. Grind into crumbs.
Step 4. In a deep bowl, combine the chocolate chips and melted butter.
Step 5. Distribute the elastic mass over the springform pan, forming a dense bottom and sides. Let's put it in the cold, but for now let's make the filling.
Step 6. Melt the chocolate.
Step 7. Mix the curd cheese with sugar using a planetary mixer.
Step 8. After adding cream, stir until smooth.
Step 9. Add eggs and mix.
Step 10. Add melted chocolate and bring until smooth.
Step 11. Distribute the filling over the frozen chocolate base.
Step 12. Seal the mold in several layers of foil.
Step 13. Place in a high baking tray and pour in boiling water so that its level reaches the middle of the height. Cook at 180°C for 1 hour. Then cool in the slightly open oven.
Step 14. Melt the chocolate for the ganache.
Step 15. Cool the mass.
Step 16. Add cream and knead until smooth.
Step 17. Add soft butter.
Step 18. Combine well.
Step 19. Cover the cooled product with chocolate ganache.
Step 20. After stabilization, remove the sides. Decorate the cheesecake at your own discretion. I have sprinkles and strawberries.
Step 21. Cut the dessert into pieces and enjoy. Bon appetit!
No-bake cheesecake with gelatin
No-bake cheesecake with gelatin is a chic treat. The technological process is divided into several parts, but this does not mean that it will be difficult. Implementing the recipe will not cause any trouble. During the strawberry season, this is a signature treat in our family.
Cooking time – 2 hours 30 minutes
Cooking time - 30 min.
Portions – 6
Ingredients:
- Cookies – 180 gr.
Filling:
- Powdered sugar – 100 gr.
- Strawberries – 600 gr.
- Cream 33% – 150 ml.
- Cream cheese – 500 gr.
- Gelatin – 5 gr.
- Strawberry jelly – 1 packet.
- Hot water – 200 ml.
Fill:
- Strawberries – 300 gr.
- Jelly for cake – 1 package.
Cooking process:
Step 1. Prepare the ingredients.
Step 2. Pour gelatin and strawberry jelly into a bowl. Fill with 200 milliliters of hot water. Stir until completely dissolved and cool.
Step 3. After washing the strawberries well, dry them. Beat half until smooth. We cut the second part into pieces.
Step 4. Whip the cream until the mass increases. Add cream cheese and combine ingredients.
Step 5. After straining the crushed strawberry mass into the creamy mass, add powdered sugar and knead.
Step 6. Add strawberry jelly and knead until smooth.
Step 7. Place the filling in the cold to thicken. Don't forget to stir periodically. When the mass becomes thick enough, add strawberry pieces. Mix well.
Step 8. Place cookies along the bottom of the pan.
Step 9. Add the filling and smooth it out. We put it in the refrigerator.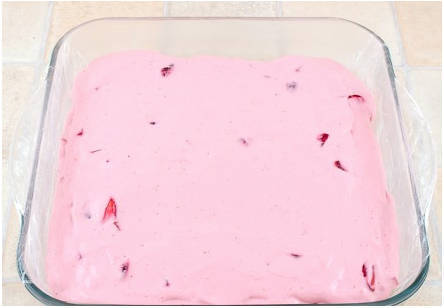
Step 10. After washing the strawberries for the top layer, dry them and cut into slices. Place on frozen filling. We dilute the jelly for the cake in the proportions indicated on the pack. Pour it over the strawberries and let it harden.
Step 11. Divide the bright dessert into portions and serve. Bon appetit!
Japanese cotton cheesecake
Japanese cotton cheesecake is quite labor-intensive, but still a real recipe. For a beginner, cooking may seem difficult. But if you follow the instructions strictly, bringing the recipe to life will not be difficult.The delicate texture will bring a lot of positive emotions.
Cooking time – 12 h. 00 min.
Cooking time - 15 minutes.
Portions – 8
Ingredients:
- Chicken eggs – 6 pcs.
- Corn starch – 40 gr.
- Cream 30% – 200 ml.
- Flour – 40 gr.
- Butter – 60 gr.
- Cream cheese – 400 gr.
- Granulated sugar – 130 gr.
Cooking process:
Step 1. Measure out the ingredients according to the recipe. Remove the butter and cream cheese from the refrigerator to allow the food to heat up.
Step 2. Set the oven temperature sensor to 160°C. Line the form with high-quality parchment. Wrap it in several layers of foil.
Step 3. After washing the eggs, dry them and separate them into yolks and whites. Beat the egg whites with 80 grams of granulated sugar until fluffy and fluffy.
Step 4. In a saucepan, combine the yolks with 50 grams of granulated sugar and cream. Heat at medium temperature, stirring vigorously with a hand tool. As soon as the mixture thickens, boil for 4 minutes. Without ceasing, knead. Pour the finished mixture into a bowl and stir for a few minutes until it cools.
Step 5. Add cream cheese to the custard base in parts and bring until smooth. Add the diced butter and stir with a whisk.
Step 6. Add sifted flour and cornstarch into the air mass. Stir with gentle movements.
Step 7. Add the whipped whites in parts and mix with a spatula. Fill the prepared form with airy dough and place it in a larger form. Pour in boiling water.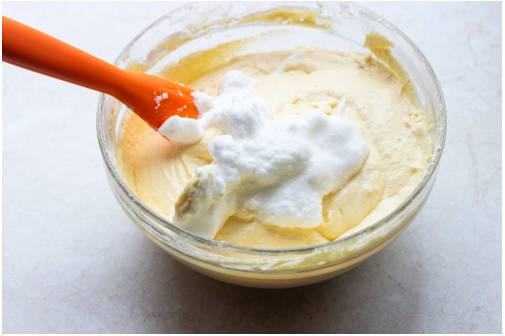
Step 8. The liquid should reach halfway up the height of the cheesecake pan. After placing the structure in a hot oven, cook for 1.5 hours. It is important not to open the oven during this time. Cool in the switched off oven for an hour.Then place it in the refrigerator overnight.
Step 9. If desired, decorate and taste the finished cotton cheesecake. Bon appetit!
No-bake cheesecake with ricotta
No Bake Ricotta Cheesecake is easy to make but takes time to set. The dessert looks as attractive as possible. There is no limit to admiration. If you are tired of cream cakes, and want something as tender and airy as possible, take the recipe into service.
Cooking time – 8 hours 30 minutes
Cooking time - 20 minutes.
Portions – 6
Ingredients:
- Cookies – 200 gr.
- Coconut shavings - for decoration.
- Cream 33% – 100 ml.
- Butter – 80 gr.
- Ricotta – 400 gr.
- Powdered sugar – 50 gr.
- White chocolate – 200 gr.
Cooking process:
Step 1. Prepare the products.
Step 2. Grind the cookies into crumbs in any convenient way.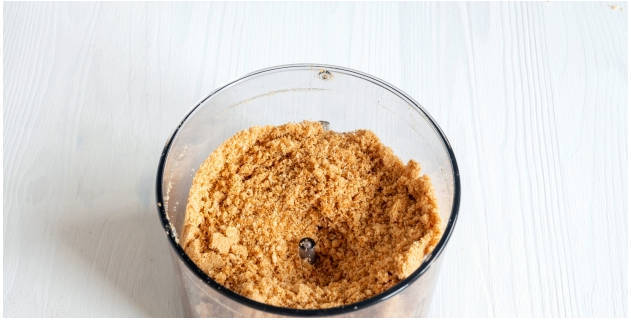
Step 3. Melt the butter and combine with the shortbread crumbs. The mass will be elastic.
Step 4. Install acetate film in the split ring. Pour out the crumbs and form the base using tamping movements.
Step 5. Mix the powdered sugar and ricotta until smooth.
Step 6. After melting the white chocolate, pour it into the filling.
Step 7. Beat thoroughly until fluffy.
Step 8. In a separate container, whip cold cream.
Step 9. While stirring the cheese-chocolate mixture, add the airy cream in parts and stir well.
Step 10. Place the filling on the sand base and level it out. Sprinkle with coconut flakes at your discretion. Refrigerate the cake overnight to stabilize.
Step 11. Free the chilled dessert from the ring and film.
Step 12. Transfer to a plate and divide into portions. Bon appetit!
Strawberry cheesecake
The strawberry cheesecake looks incredibly beautiful.This dessert will become a favorite for both children and adults. Even an amateur can master the simple execution. The process itself is quite simple, but it takes time for the filling and the final jelly layer to harden.
Cooking time – 2 hours 45 minutes
Cooking time – 40 min.
Portions – 8
Ingredients:
- Cookies – 340 gr.
- Vanilla sugar – 15 gr.
- Cream 33-35% – 250 ml.
- Butter – 80 gr.
- Cream cheese – 400 gr.
- Granulated sugar – 150 gr.
- Strawberries – 500 gr.
- Gelatin – 30 gr.
- Water – 100 ml.
- Strawberry juice – 300 ml.
Cooking process:
Step 1. Measure out the ingredients for dessert. We take out the butter in advance. And we keep the cream in the cold until it is used.
Step 2. Grind shortbread cookies into crumbs when using electrical appliances. After melting the butter, combine it with the shortbread crumbs.
Step 3. Take a convenient form or ring. We form a base from the crumbs, having previously covered the bottom with cling film. Having compacted it, move it into the cold to harden.
Step 4. Pour 20 grams of powdered gelatin with cold water and let it swell. After rinsing the berries, dry them, cut 400 grams of strawberries in half or quarters.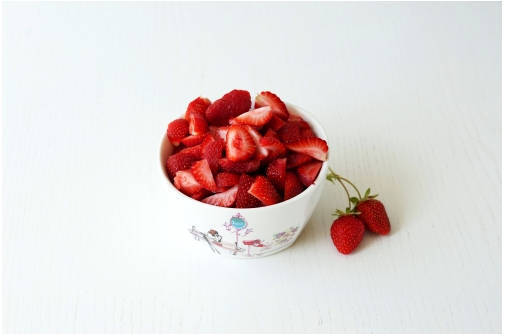
Step 5. Pour heavy cream into a bowl. After adding regular and vanilla sugar, beat thoroughly with an electric appliance until the sugar grains are completely dissolved. Then add curd cheese little by little and beat until the mixture becomes dense and fluffy.
Step 6. Having dissolved the gelatin in a water bath, gradually pour it into the filling and do not stop whisking. Add chopped strawberries to the creamy gelatin mixture and mix gently. Distribute the mass over the base and level it. Cool until solidified.
Step 7. Add 10 grams of gelatin to chilled strawberry juice and mix.We are waiting for it to swell.
Step 8. Thinly slice the remaining strawberries and place them on the set creamy layer.
Step 9. Dissolve the gelatin swollen in juice in the microwave or in a water bath, without bringing it to a boil. Distribute the mass in the final layer. Place in the cold for several hours to harden.
Step 10. Remove the finished cheesecake from the mold by running a knife through it.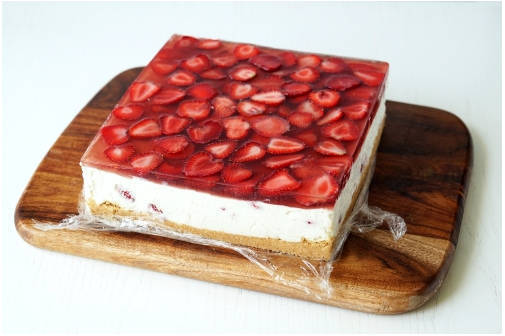
Step 11. Cut the delicious dessert into pieces and treat it to your loved ones. Bon appetit!
PP cheesecake at home
Homemade PP cheesecake not only has an amazing taste, but also has a reduced calorie content. The number of ingredients may intimidate a novice cook, but there is nothing scary in execution. Everything is accessible and real. Following the step-by-step description, there will be no hitches.
Cooking time – 1 hour 10 minutes
Cooking time - 10 min.
Portions – 8
Ingredients:
- Chicken eggs C1 – 1 pc.
- Cocoa powder – 10 gr.
- Milk – 60 gr.
- Rice flour – 20 gr.
- Baking powder – 0.5 tsp.
- Sweetener - to taste.
- Olive oil – 7 ml.
Impregnation:
- Water – 2-4 tbsp.
- Sweetener - to taste.
Filling:
- Strawberries – 200 gr.
- Cream 33% – 100 ml.
- Soft low-fat cottage cheese – 150 gr.
- Cream (curd) cheese – 150 gr.
- Gelatin powder – 7 g.
- Water – 40 ml.
- Sweetener - to taste.
Upper layer:
- Strawberries – 200 gr.
- Gelatin powder – 5 g.
- Water – 30 ml.
- Sweetener - to taste.
Cooking process:
Step 1. Pass cocoa, baking powder and flour through a sieve. Break the egg, add olive oil and milk. Add sweetener.
Step 2. Mix thoroughly and pour the dough into a silicone mold.
Step 3. Place in the microwave and set to maximum power, bake for 1.5-2 minutes. Pierce with a toothpick.If the base is ready, the toothpick will be dry.
Step 4. Wash the strawberries well. Grind 400 grams of berries using a chopper.
Step 5. Pour the strawberry puree into a saucepan and boil for exactly a minute.
Step 6. Grind the mixture through a sieve to get rid of the seeds.
Step 7. Using a mixer, combine cheese, cottage cheese and half of the berry puree, after cooling it.
Step 8. Separately, beat the cold cream until fluffy.
Step 9. Add whipped cream in parts to the previously prepared base. Mix carefully.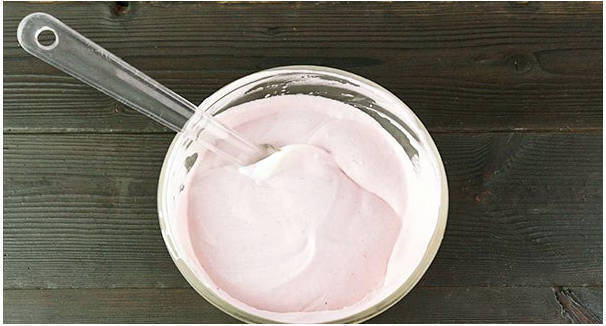
Step 10. Combine 7 grams of powdered gelatin with 40 milligrams of cold water. Let it swell. Then we dissolve it in impulses in the microwave.
Step 11. After cooling the dissolved gelatin, pour it into the filling. After adding the sweetener, mix thoroughly.
Step 12. Place the biscuit base in a split ring covered with acetate film. Soak in a mixture of sweetener and water.
Step 13. Distribute the filling and place in the freezer for half an hour.
Step 14. Pour 5 grams of gelatin with 30 milligrams of cold water and leave to swell. Then heat it until the mass dissolves. Pour the dissolved gelatin into the remaining berry puree. Add sweetener. Mix well.
Step 15. Pour the mixture over the frozen product. Place in the refrigerator until completely frozen.
Step 16. Carefully remove the frozen cheesecake from the ring and place it on a plate. Decorate with strawberries, almond slices and mint.
Step 17. Cut the healthy cheesecake into portions. Bon appetit!


