Corn for the winter is a homemade product that is in demand both in everyday and holiday menus. Store-bought corn is not always pleasing with its qualities, but when prepared at home and according to proven recipes, it tastes good, and without preservatives or additives. The correct choice of corn is important for conservation.
Canned corn at home for the winter banks
You can preserve corn at home for the winter on the cob or in jars, and the second option is more acceptable and convenient. For preservation, sweet corn is selected, which is distinguished by its sweetness and delicate texture, while fodder varieties do not produce good harvesting. In this recipe, we first boil the corn and then sterilize it in a marinade and in jars.
- Corn grains 2 kg (for 4 cans of 0.5 l.)
- Granulated sugar 3 (teaspoons)
- Salt 1 (tablespoons)
- Water 1 (liters)
-
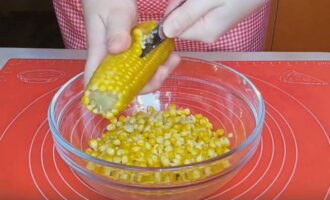
How to prepare a delicious corn preparation for the winter? Boil the corn cobs selected for canning in water without adding salt for 30-40 minutes, which depends on the degree of maturity of the grains.Then cool the corn under running water in a colander. Using a knife, carefully separate the kernels from the cobs.
-
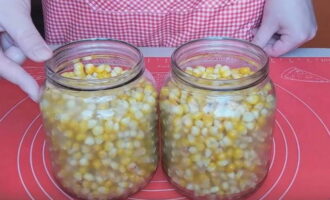
Rinse the jars for the preparation well with soda and sterilize them together with the lids using any method. Place corn kernels in prepared jars.
-
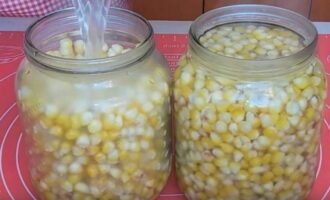
In a separate pan, cook the marinade from 1 liter of clean water or strained corn broth with the addition of salt and sugar according to the proportions of the recipe. Pour the hot marinade over the grains in the jars.
-
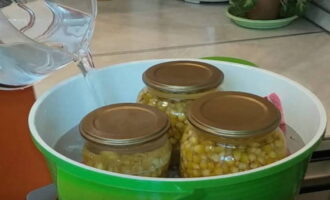
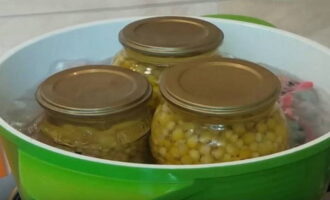
Cover the jars with lids and place in a large saucepan for sterilization, covering the bottom with a towel. Fill the jars with hot water to the level of the hangers and bring to a boil over medium heat.
-
Sterilize canned corn within 40 minutes of the water starting to boil in the pan.
-
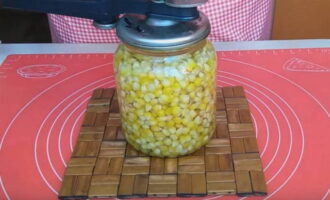
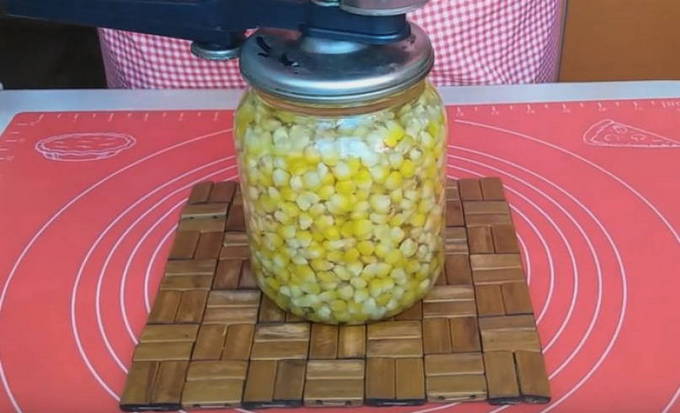
At the end of this time, seal the jars of corn hermetically, put them on the lids and cool under the “fur coat”. Canned corn stores well for a long time in a cool, dark room. Delicious and successful preparations!
How to freeze an ear of corn for the winter
This recipe offers you the option of freezing corn on the cob for the winter. Freezing is the most convenient way to preserve this healthy and tasty vegetable. We freeze corn with blanching, which preserves as much as possible all the properties of corn, allows it to be used immediately after thawing and extends the shelf life to 12 months.
Cooking time: 30 minutes.
Cooking time: 30 minutes.
Servings: any quantity.
Ingredients:
- Corn - 1 cob.
Cooking process:
Step 1. Carefully remove the layers of husk from the corn cobs selected for freezing by hand.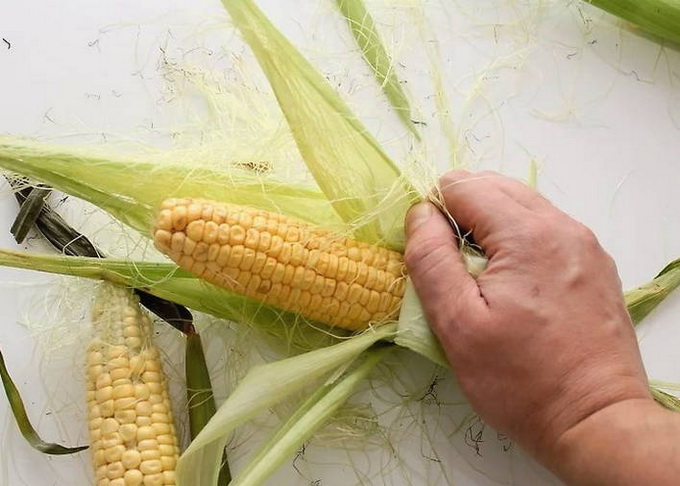
Step 2. Prepare a deep bowl for cooling the blanched corn so that all the cobs can fit.To get ice water, prepare several ice cubes.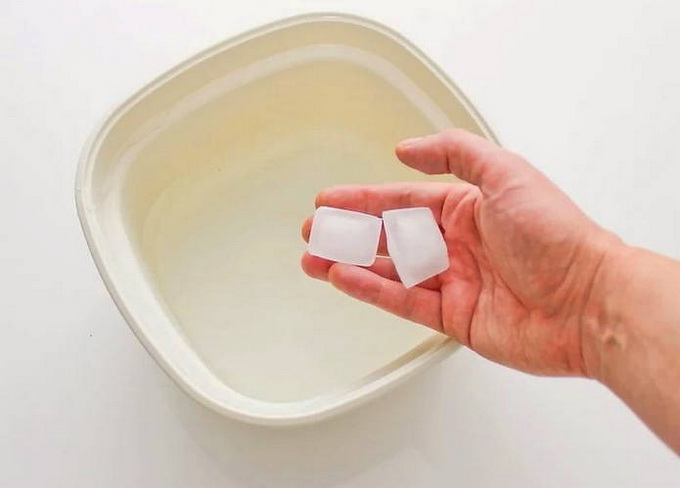
Step 3. Pour clean water into another pan, filling it 2/3 of the volume, put it on the stove, dissolve sugar in water at the rate of 2 tbsp. l. per liter of water and bring to a boil.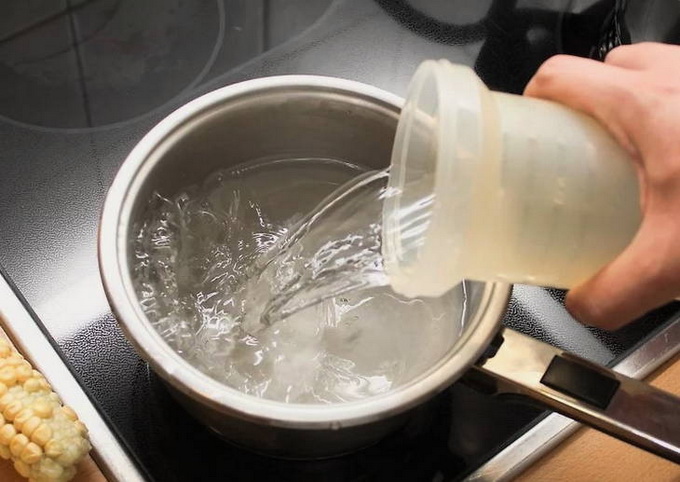
Step 4. Place the prepared cobs into the boiling solution.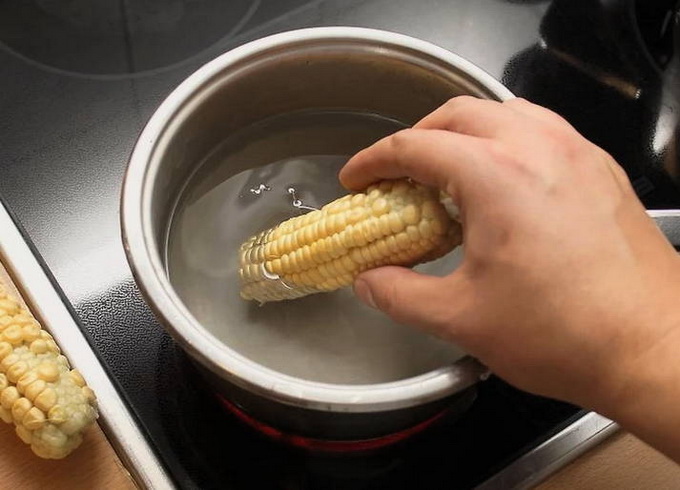
Step 5. Blanch the cobs for several minutes from the start of boiling and the approximate calculation of time depends on the size of the cobs: blanch for 7 minutes up to 15 cm long, 9 minutes for up to 20 cm long.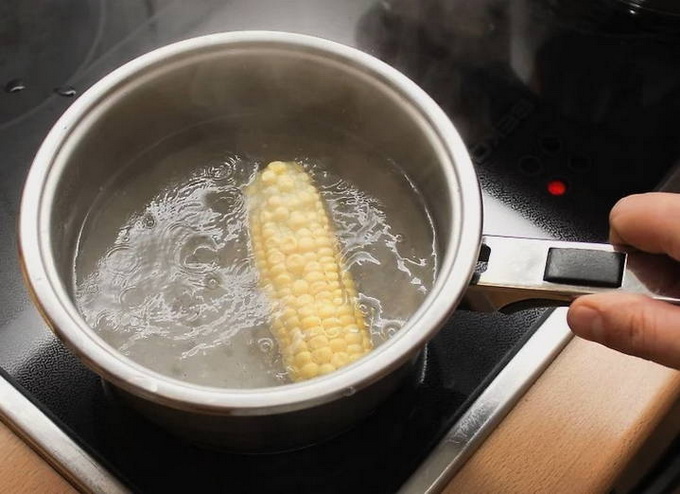
Step 6. Then transfer the cobs to ice water and cool completely.
Step 7. Transfer the cooled cobs to a kitchen towel to remove liquid.
Step 8. Wrap each cob in a piece of foil, securing the edges tightly.
Step 9. Transfer the wrapped cobs into bags special for freezing and, after removing the air, close them tightly.
Step 10. Place the cobs for storage in the freezer. To eat corn, place it together with foil in boiling water and cook for several minutes until it becomes warm. Bon appetit!
Pickled corn for the winter
Homemade pickled corn for the winter allows the housewife to complement any dish: salad, appetizer, soup or side dish. Pickling recipes are usually simple and with a minimum of ingredients, but in this recipe we will prepare pickled corn with sweet peppers and spices. It will add new shades of taste to any salad.
Cooking time: 1 hour.
Cooking time: 10 minutes.
Servings: 0.5 l.
Ingredients:
- Milk corn – 310 gr.
- Sweet pepper – 1 pc.
- Garlic – 1 clove.
- Dill umbrella – 1 pc.
- Horseradish leaf – 1 pc.
- Mustard seeds – 4 gr.
- Coriander seeds – 4 gr.
- Vinegar 9% – 11 ml.
- Sugar – 4 gr.
- Salt – 7 gr.
- Water – 1 tbsp.
Cooking process:
Step 1. Peel the corn cobs from the husk layer with fibers, cut into halves and boil for 35 minutes in water without salt.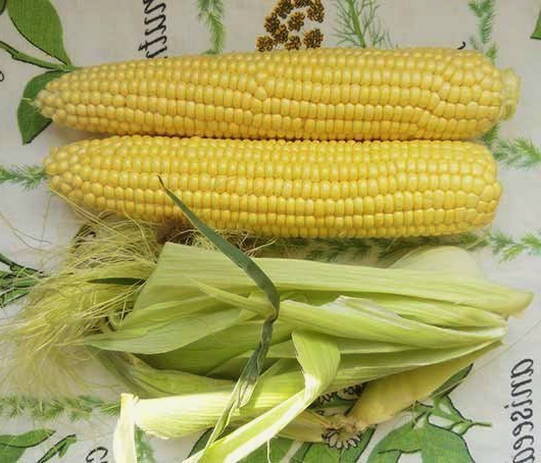
Step 2. Cool the cooked cobs and carefully cut the rows of grains using a thin knife.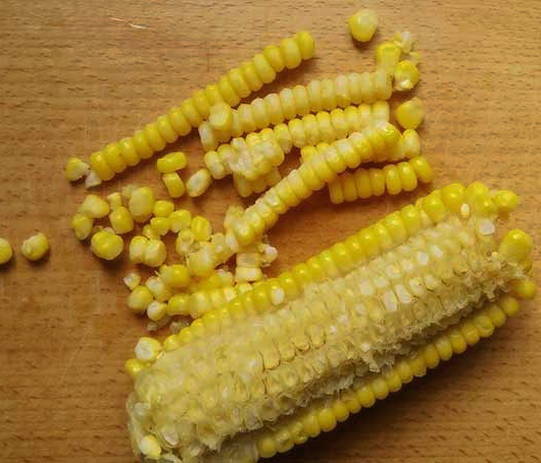
Step 3. Separate the corn into individual grains. Peel sweet peppers from seeds with partitions, rinse and cut into small cubes.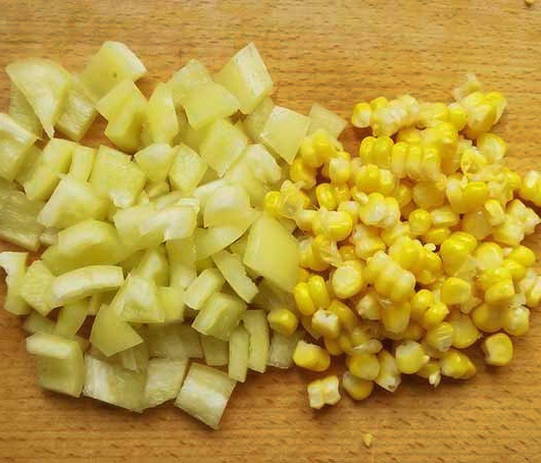
Step 4. Place a dill umbrella, a small leaf of horseradish and a clove of garlic in a sterile half-liter jar.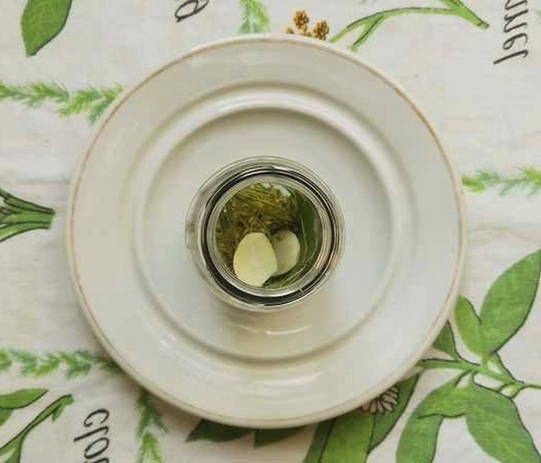
Step 5: Then add mustard and coriander seeds.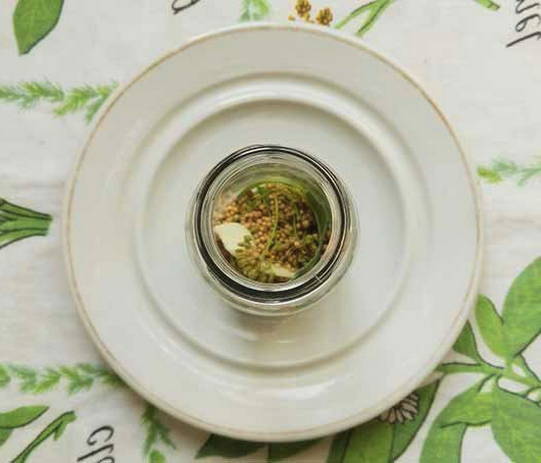
Step 6. Place corn kernels compactly on top of the spices, alternating with chopped peppers.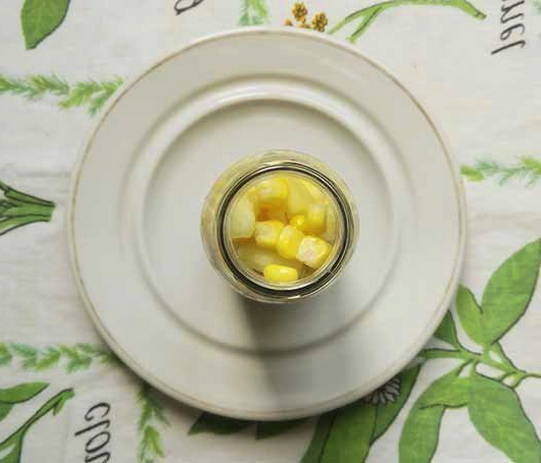
Step 7. Pour a glass of clean water into a small saucepan, dissolve salt and sugar in it and bring the liquid to a boil, pour in vinegar and turn off the heat. Pour the hot marinade over the corn in a jar, cover with a boiled lid and sterilize for 17 minutes, counting from the start of boiling of the water in the pan.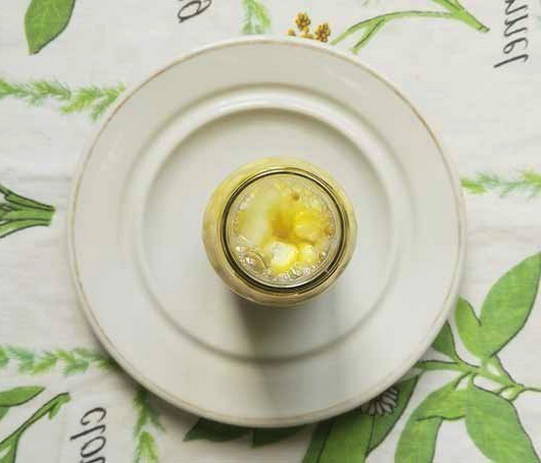
Step 8. Seal the jar of pickled corn hermetically and, after cooling, store it in the basement or refrigerator. Delicious and successful preparations!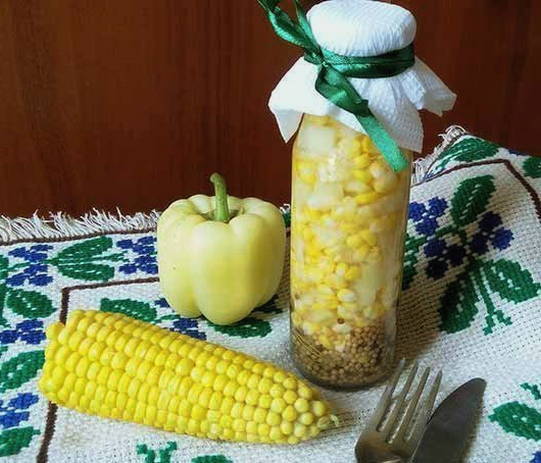
Canned corn without vinegar for the winter
Canned corn, even from sugar varieties, will not have a real pickled taste without vinegar, and it is more difficult to preserve it. In this recipe, we can the corn by replacing the vinegar with citric acid. We boil the grains and then sterilize them in the marinade, placing them in jars.
Cooking time: 2 hours.
Cooking time: 30 minutes.
Servings: 2 l.
Ingredients:
- Corn – 2 kg.
For the marinade:
- Water – 1 l.
- Sugar – 2 tbsp.
- Salt – 2 tbsp.
- Citric acid – 1 tsp.
Cooking process:
Step 1.Peel the corn cobs from the husks and fibers, put them in a deep saucepan and boil for 40 minutes, no more, so that the grains do not become very soft. For sweetness, you can add a spoonful of sugar per liter of water to the water.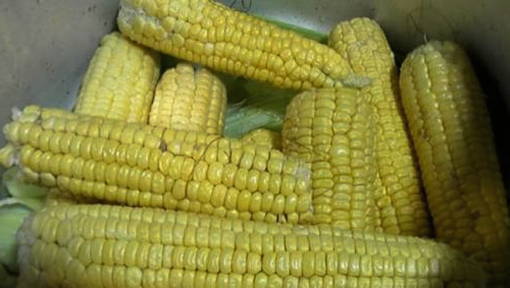
Step 2. Cool the boiled cobs and use a sharp knife to separate them into individual grains.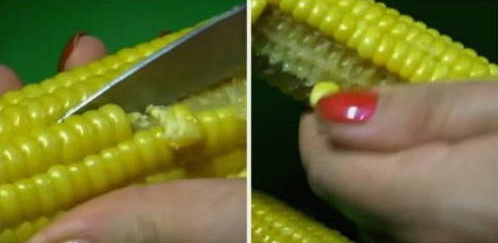
Step 3. Then rinse the grains well with boiling water, which will reduce the likelihood of the jars exploding and will also remove small debris at the base of the grains.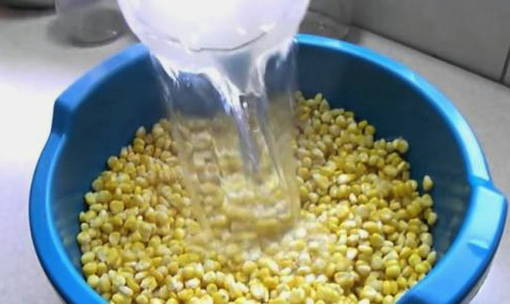
Step 4. In a saucepan, cook the marinade from the amount of water indicated in the recipe with salt, sugar and citric acid.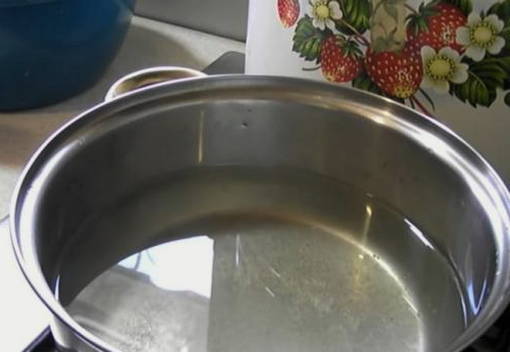
Step 5. Place the prepared grains in pre-sterilized jars, filling them only 2/3 of the volume so that the preparation does not explode.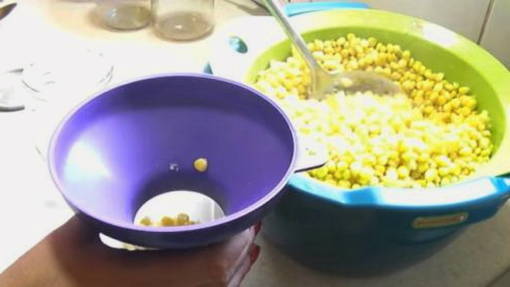
Step 6. Place the jars in a large saucepan lined with a towel. Pour the boiling marinade over the corn in the jars, also without adding it to the edge of the jar, but 1-2 cm below.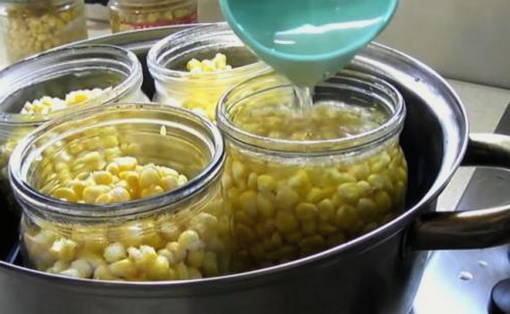
Step 7. Cover the jars with lids and sterilize for 40 minutes - milk corn and 1 hour - ripe corn, counting from the start of boiling water in the pan.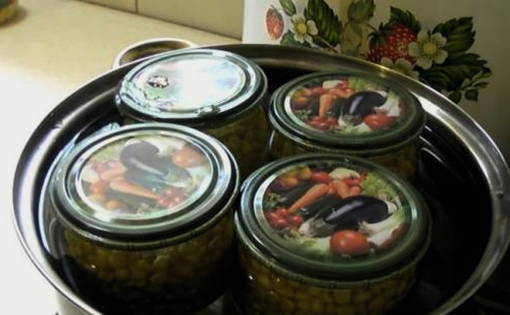
Step 8. Then seal the jars of corn canned without vinegar, put them on the lids, cool under the “fur coat” and put them in a cool place for storage, but it is possible to store them for a couple of months in an apartment. Delicious and successful preparations!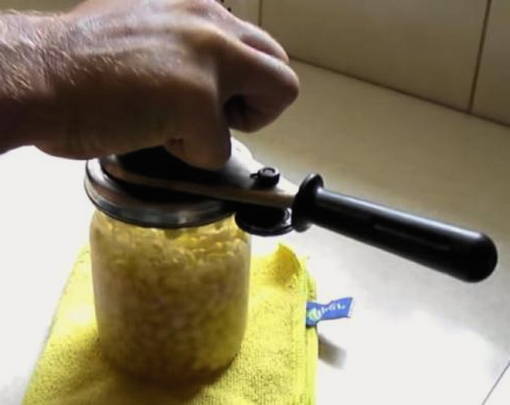
Corn on the cob in jars
When storing large volumes of corn for the winter, a convenient way is to preserve the cobs in jars as whole small cobs or cut into pieces. The taste of the product and good storage depend on proper preparation of corn for canning. Cooking with sterilization.
Cooking time: 1 hour 40 minutes.
Cooking time: 20 minutes.
Servings: 3 l.
Ingredients:
- Corn – 9 pcs.
- Sugar – 4 tbsp.
- Salt – 2 tbsp.
- Vinegar 70% – 1 tsp.
Cooking process:
Step 1. For canning in a jar, select ears of corn that are medium ripe and uniform in size. Peel them from the layer of husk with fibers. Place the cobs in a large saucepan and cover completely with cold water.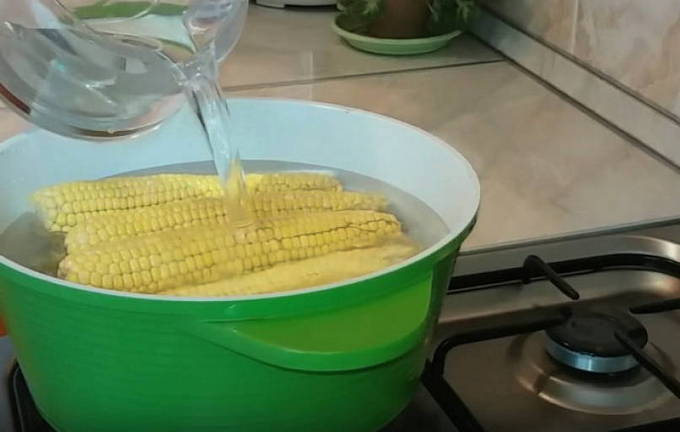
Step 2. Cook the cobs over low heat, without adding salt, for 40-60 minutes.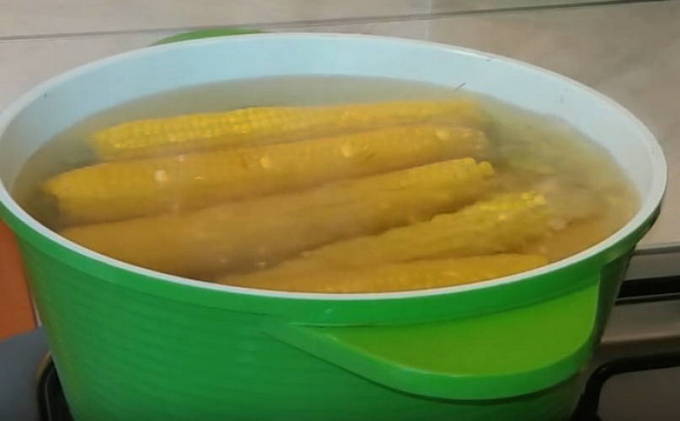
Step 3. Place the cooked corn in a colander and rinse well with cold running water.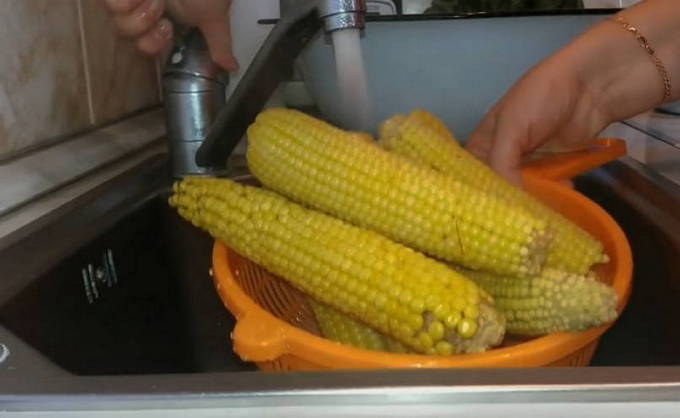
Step 4. Sterilize a clean three-liter jar in advance and boil the lid. Place the cooled corn cobs compactly in a jar whole or cut into 2-3 pieces.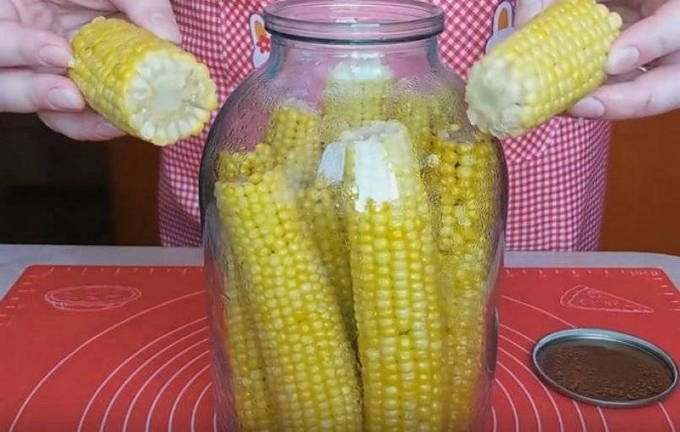
Step 5. Then pour the amount of salt and sugar indicated in the recipe into the jar, pour boiling water over the cobs and cover with a lid.
Step 6. Place the can of corn in a large saucepan with a towel on the bottom. Pour warm water into the pan up to the level of the can hangers and place it over medium heat. Sterilize corn on the cob in a jar within 40 minutes of the water starting to boil in a saucepan over low heat.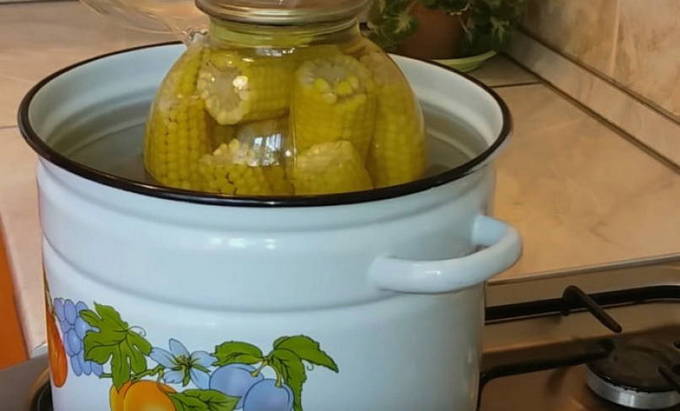
Step 7. Then add a teaspoon of vinegar essence to the jar, seal it tightly, turn several times so that the salt and sugar completely dissolve. Then put the jar on the lid, cover it with a “fur coat” and, after completely cooling, transfer it to the basement for storage. Delicious and successful preparations!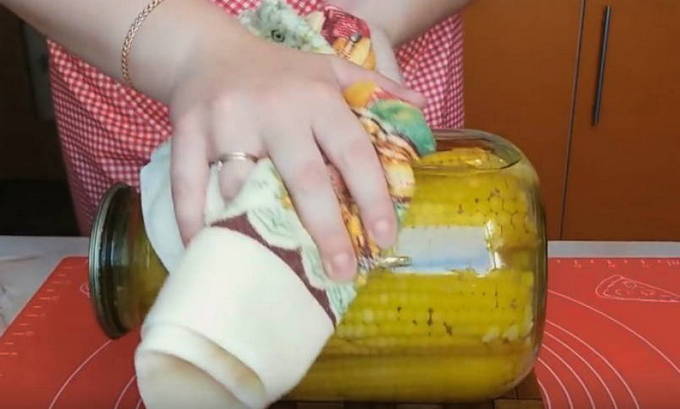
Canned corn with butter
To complement various salads and main courses, you can prepare canned corn at home. The option of canning it with vegetable oil is mainly used for preparing spicy pickled corn, in which the oil better reveals the aroma of spices and contributes to the reliability of preservation. We choose young cobs of vegetables.We prepare it by cooking it 4 times in a marinade with periods of infusion.
Cooking time: 3 days.
Cooking time: 1 hour.
Portions: as desired.
Ingredients:
- Ears of young corn.
For the marinade:
- Water – 2 l.
- Vinegar 6% – 2 tbsp.
- Sugar – 4 tbsp.
- Salt – 4 tbsp.
- Cloves – 8 buds.
- Bay leaf – 4 pcs.
- Cinnamon – 2 sticks.
- Vegetable oil – 2 tbsp per jar.
Cooking process:
Step 1. Remove the outer leaves and fibers from the ears of young sweet corn selected for harvesting. Then rinse the cobs well under running water.
Step 2. In a large saucepan, cook the marinade from clean water with the addition of the amount of salt, sugar, vinegar and spices specified in the recipe. The calculation of the amount of marinade depends on the volume of the workpiece and on average you need 0.5 liters per liter jar of the workpiece.
Step 3. Place the prepared cobs into the boiling marinade and cook the corn until the kernels are soft. Turn off the fire. Cover the pan with a lid and leave the corn in the marinade overnight.
Step 4. The next day, remove the cobs from the marinade. Bring the marinade back to a boil and cook the corn for 10 minutes. Repeat cooking on the third day with a period of infusion.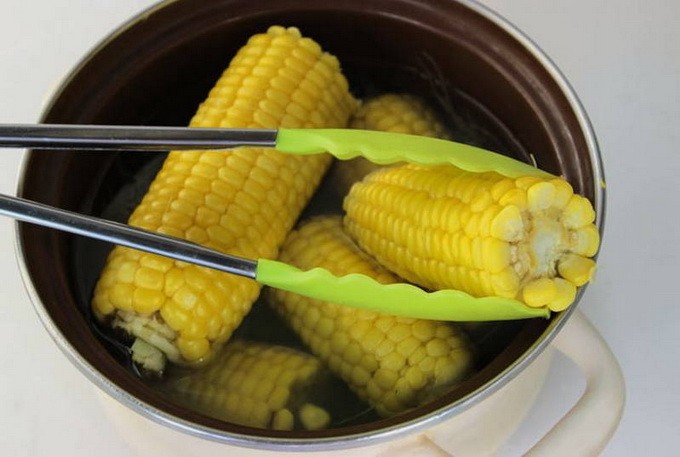
Step 5. Cook the corn in the marinade for the fourth time for another 10 minutes. Sterilize jars of any size in advance and boil the lids. In a frying pan or any metal container, heat the vegetable oil well enough to accommodate the number of cans.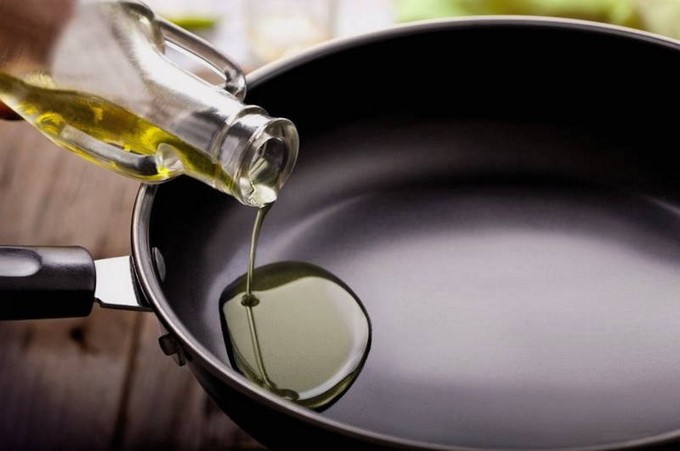
Step 6. Place the cooked cobs in prepared jars, fill them with marinade and pour hot vegetable oil on top of each jar. Seal the jars hermetically, place them on the lids, cover them with any “fur coat” and, after completely cooling, transfer them for storage to a cool, dark place. Delicious and successful preparations!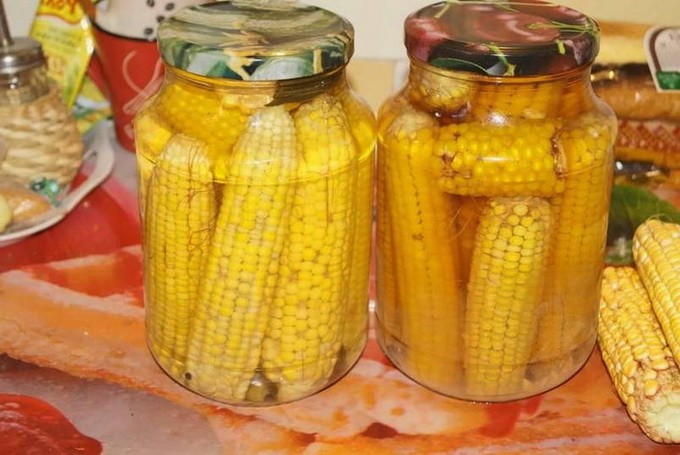
Boiled corn for the winter
During the harvesting season, recipes for preparing boiled corn for the winter are in demand, so that it can be immediately served to the table, complementing various dishes or as a side dish. Cooked corn is either frozen or canned in jars. In this recipe, we cut the cobs into grains and cook them in jars with a simple set of spices (salt and sugar) and without adding vinegar.
Cooking time: 4 hours.
Cooking time: 1 hour.
Servings: 3 l.
Ingredients:
- Corn beans - for 6 half-liter jars.
- Water – 1.5 l.
- Sugar – 5 tsp.
- Salt – 1.5 tbsp.
Cooking process:
Step 1. For this preparation, select corn cobs at the stage of milk maturity, so that when you press on the grain there will be milky juice. Peel the cobs from the husk layer and thin fibers.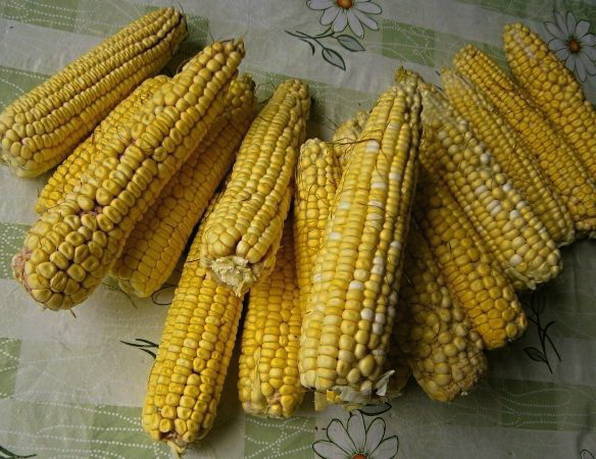
Step 2. Place the peeled cobs in a large saucepan, cover completely with boiling water and cook for 15 minutes. Cook more mature cobs for longer.
Step 3. While the corn is cooking, rinse half-liter jars and lids with baking soda. It is not necessary to sterilize them.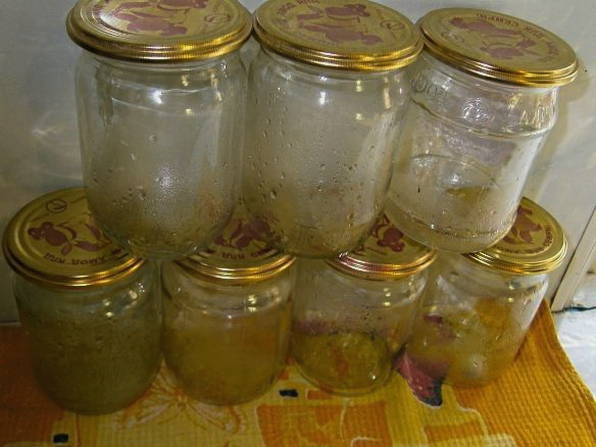
Step 4. Cool the cooked cobs in cold water.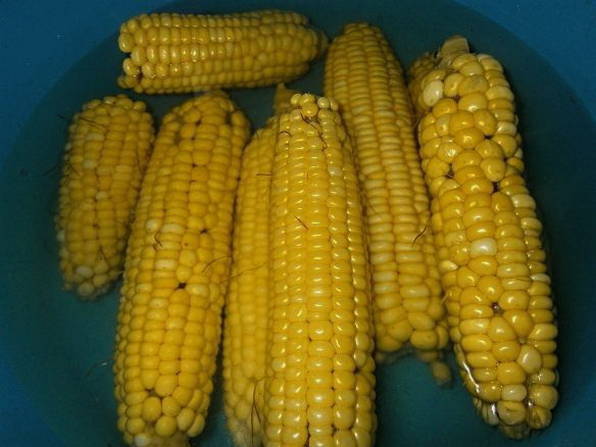
Step 5. Then, using a sharp knife, carefully separate the grains from the cobs and rinse them with boiled water.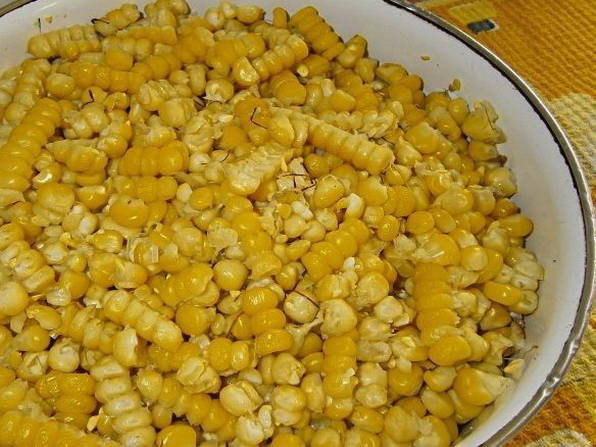
Step 6. Using the amount of water, salt and sugar indicated in the recipe, cook the corn filling. Place the grains in prepared jars, filling them only to the level of the hangers, and pour hot pouring over them. Cover the jars with lids and place in a large pan for sterilization, covering its bottom with a towel. Fill the jars with warm water and sterilize the workpiece over low heat for 3 hours.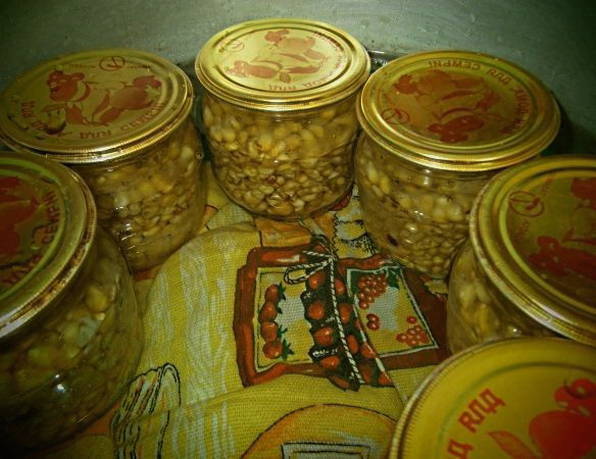
Step 7After this time, seal the jars with boiled corn hermetically, cool without wrapping them in a “fur coat” and transfer them to storage until winter in a cool, dark room. Delicious and successful preparations!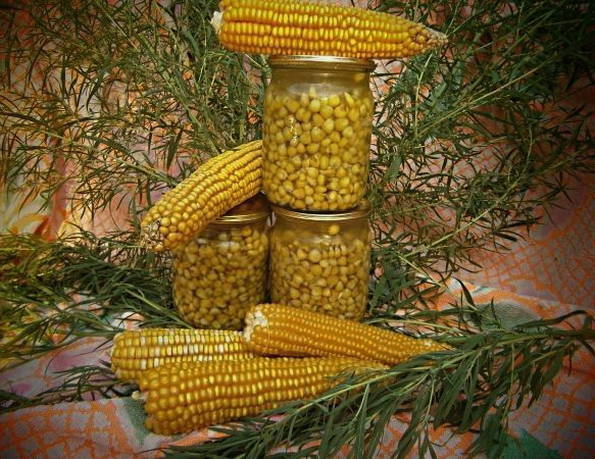
How to freeze corn grains for the winter
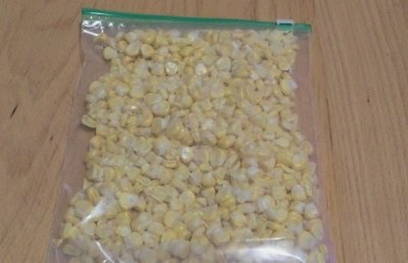
The freezer allows the housewife to easily freeze corn along with other vegetables for the winter, and freezing grains takes up less volume in the chamber compared to whole cobs. In this recipe, we boil the corn until tender, and it can be stored well for 8 months without losing its taste or beneficial properties. For freezing, zip bags or containers with a tight lid are used to prevent air from entering.
Cooking time: 1 hour 30 minutes.
Cooking time: 30 minutes.
Portions: as desired.
Ingredients:
- Corn - in any quantity.
Cooking process:
Step 1. Corn cobs for freezing must be whole, ripe and fresh. Corn is thoroughly cleaned of leaves containing fibers.
Step 2. The cobs are placed in a large pan, filled with cold water, a little salt is added to them and the corn is cooked until tender for 40-60 minutes, which depends on the degree of ripeness.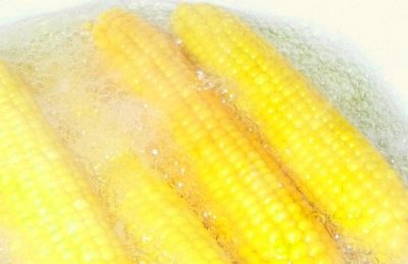
Step 3. The cooked cobs are cooled in ice water. At this stage, they can be dried and packaged in bags or containers, removing as much air as possible from them.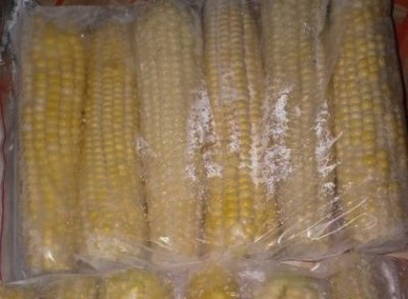
Step 4. To freeze grains, they are separated from the cobs with a sharp knife and disassembled into individual grains. Then the grains are washed with cold water and dried a little. One cob of corn yields an average of 200 grams of grains.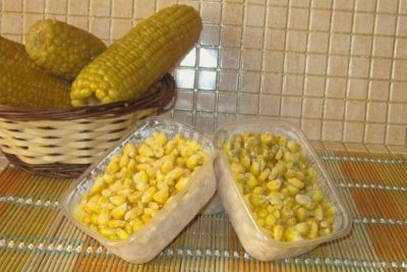
Step 5: The corn kernels are placed in ziplock bags after the air has been removed. Then they are stored in the freezer on a separate shelf so that there is no meat or fish nearby.Happy preparations!