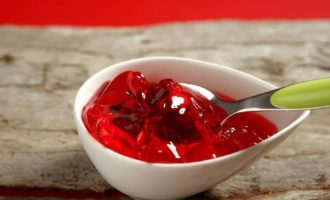
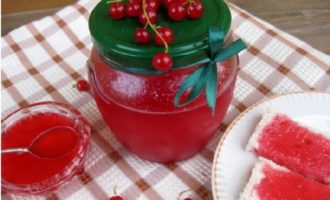
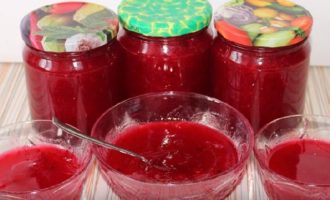
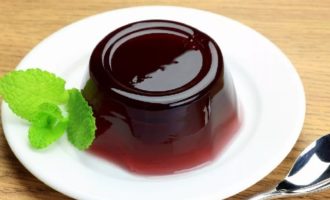
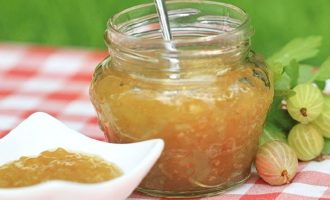
This delicacy will always come in handy on a cold winter evening. Moreover, there are even more options for preparing cherry jelly, which hardens quickly and at the same time retains its shape much more than you thought. Choose any one, depending on what thickener you want to use.
- Thick pitted cherry jelly for the winter
- A simple and delicious recipe for cherry jelly with gelatin
- Delicious and thick cherry jelly with agar-agar for the winter
- Step-by-step recipe for making cherry jelly with pectin
- How to prepare cherry jelly with jellyfix for the winter?
- Delicious cherry jelly with whole berries in jars
- How to make cherry jelly in your own juice?
- Thick cherry jelly without gelatin for the winter
Thick pitted cherry jelly for the winter
The most standard method of preparing jelly treats is based on the use of gelatin. Among its advantages, it is necessary to note its ease of accessibility, large selection and, most importantly, the absence of difficulties during preparation. Feel free to choose this recipe to spoil your friends soon.

- Cherry 1 (kilograms)
- Granulated sugar 700 (grams)
- Gelatin 2 (tablespoons)
-
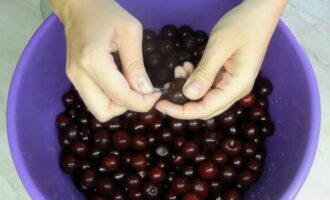
How to prepare thick cherry jelly for the winter with gelatin? We thoroughly wash all the berries and remove the seeds using a hairpin.
-
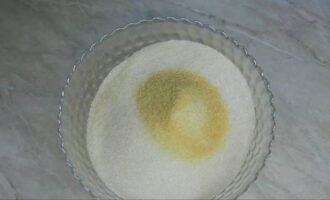
Add gelatin to the required amount of sugar and mix well.
-
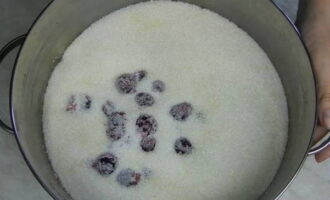
Pour the prepared cherries with the bulk ingredients and lightly shake the pan so that the granulated sugar is distributed throughout the entire volume. Leave the sugared cherries in the refrigerator for 12 hours so that the berries release cherry juice.
-
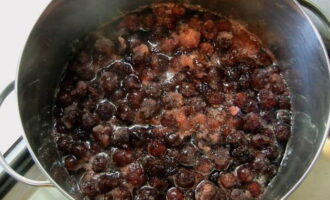
After this time, remove the pan with the cherries and send to cook over low heat, stirring occasionally.
-
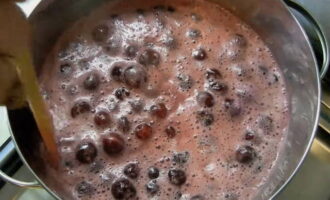
During the boiling process, foam forms on the surface of the jelly, which we do not remove, but continue to cook the berries along with it for five minutes, constantly stirring with a spatula. After this time, turn off the stove and wait about five minutes for the foam to settle.
-
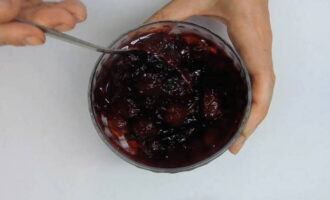
Place the finished jelly in sterilized jars and leave in the refrigerator to harden. After which we serve cherry jelly as an addition to breakfast or just with tea.
We wish you a pleasant tea party!
A simple and delicious recipe for cherry jelly with gelatin
After trying natural cherry jelly without preservatives, you will no longer want to go to the store for sweets. Pleasant and barely perceptible sourness, smooth texture and cherries frozen in weightlessness - all this combines into one jelly, which you can prepare yourself in the shortest amount of time.
Cooking time: 5 hours.
Cooking time: 4.5 hours.
Portions – 3.
Ingredients:
- Cherry – 300 gr.
- Granulated sugar – 100 gr.
- Gelatin – 3 tsp.
- Water – 500 ml.
Cooking process:
1. In order to obtain a jelly mass, you need to dilute gelatin in a small amount of water and leave to swell for 10 minutes.
2. Pour granulated sugar into a saucepan with water at room temperature and set to simmer over low heat.
3. Before the contents boil, pour the juice that has drained from the cherries into the same pan as soon as possible.
4.Bring the sugar syrup to a boil and add the cherries. In the same way, bring this mass to a boil and immediately turn it off, allowing a little time to cool.
5. After a short period of time, add the already swollen gelatin and stir all the contents well so that unwanted lumps do not form.
6. Pour the resulting jelly into different containers and leave the mixture to harden in the refrigerator for at least four hours.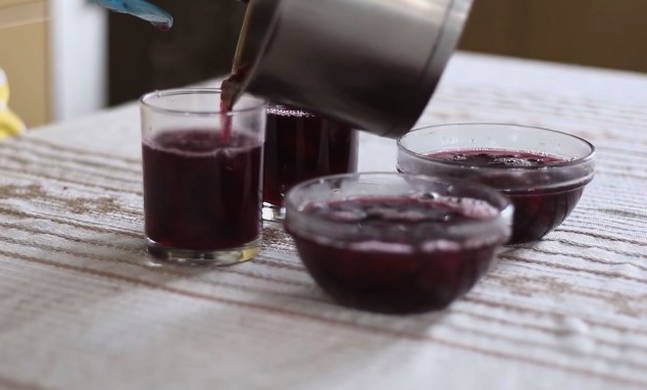

7. After this time, natural chilled cherry jelly literally melts in your mouth.
We wish you bon appetit!
Delicious and thick cherry jelly with agar-agar for the winter
If you are looking for an alternative to gelatin, feel free to choose a thickener with such an interesting name as agar-agar. Unlike all previous options, this cherry jelly is homogeneous and dense in consistency, which allows it to be used as jam for crispy toast.
Cooking time: 30 min.
Cooking time: 15 min.
Servings – 10.
Ingredients:
- Cherry – 1000 gr.
- Granulated sugar – 500-600 gr.
- Agar-agar – 10 gr.
- Water – 100 ml.
Cooking process:
1. First of all, we sort the berries, breaking off the tails and removing the seeds using a simple hairpin.
2. It is better to wash the prepared cherries before removing the seeds while they are still intact.
3. Fill a suitable size pan with a thick bottom with peeled berries and add granulated sugar. Using an immersion blender, blend everything into a homogeneous mass.
4. Pour about 100 ml of homogeneous cherry mass into a thick-bottomed saucepan.
5. Add the required amount of agar-agar to this volume and mix well. Then we set it aside to wait in the wings.
6.In the meantime, let's move on to the actual preparation of the jam itself. Place the pan with the cherry liquid mixture over low heat and bring to a boil. Then boil for another five minutes, being sure to remove the foam from the surface.
7. Let's move on to preparing the thickener. We send the saucepan to heat over low heat, remembering to constantly stir the mass.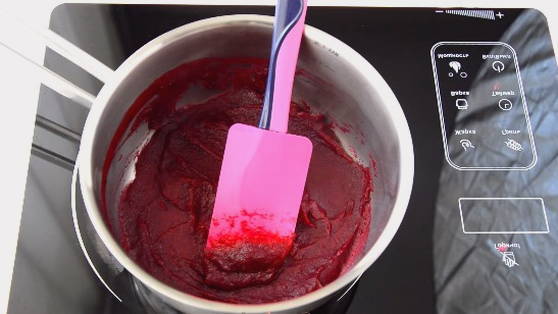
8. As soon as the mass has thickened, add 100 ml of any water to it and heat it, actively stirring until smooth.
9. Combine the homogeneous thickened mass with the prepared jam and bring it to a boil again. Cook like this for about five minutes.
10. Pour the finished jam hot into sterilized hot jars, closing with a lid. Then turn all the jars upside down and cover with a blanket until cool and thickened.
11. We can store the finished jam at room temperature on the kitchen table, without hiding it in dark places.
12. You can diversify your usual breakfast with this jam by spreading it on toast.
We wish you bon appetit!
Step-by-step recipe for making cherry jelly with pectin
An excellent cherry jam for all those with a sweet tooth, in which the amount of sugar is halved thanks to a small amount of the natural thickener pectin.
Cooking time: 20 hours.
Cooking time: 40 min.
Servings – 10.
Ingredients:
- Cherry – 1000 gr.
- Granulated sugar – 500 gr.
- Pectin – 10 gr.
Cooking process:
1. Before removing the seeds from the cherries, wash the berries well and dry them.
2. After that, we transfer the pitted cherries into a deep container and cover them with granulated sugar, thanks to which the cherries will release juice overnight.
3.After the night, place the pan with the cherries on low heat and mix well. Initially, bring everything to a boil and leave to cook for five minutes.
4. As soon as the granulated sugar has completely dissolved, increase the heat and continue cooking the jam for 15 minutes. Then leave the pan with almost finished cherry jelly for 10-12 hours until thickened.
5. After this time, mix granulated sugar with pectin and pour in cherry jam, stirring well until smooth, breaking up all lumps. Pour the pectin syrup into the jam heated over low heat and, stirring, cook over low heat for five minutes. Then remove from the stove.
6. Immediately pour the finished jam into sterilized jars and roll up with sterilized lids, then turn over and cover with a thick blanket or blanket to cool. We store rolled up jars of cherry jelly in a cool place throughout the year.
7. And for testing, you can open one jar of jelly the very next morning.
We wish you bon appetit!
How to prepare cherry jelly with jellyfix for the winter?
Don't be surprised if marmalade lovers will appreciate your delicacy and it will disappear from the table in a matter of seconds. The cooking process, like the result itself, is worth the time and effort.
Cooking time: 12 hours.
Cooking time: 15 min.
Servings – 10.
Ingredients:
- Cherry – 1000 gr.
- Granulated sugar – 1000 gr.
- Zhelfix (1:1) – 25 gr.
Cooking process:
1. We first sort out all the berries so that they do not turn out to be spoiled or wormy. Then we wash the cherries well and remove every single pit.
2. Transfer the cherries to the pan in which we plan to cook our jam and cover with granulated sugar.We leave it for about 10-12 hours so that the berry can release its juice, in which we will directly cook our jelly.
3. After this time, place the pan on low heat and bring the contents to a boil.
4. As soon as foam has formed on the surface of the jelly, remove it using a slotted spoon and pour in a bag of jellyfix, while mixing everything carefully so that it does not stick to the walls of the pan. Bring the entire contents to a boil again and cook for three minutes until thickened.
5. And that’s it, the process of making jelly is completed. Pour the prepared and still liquid jam into prepared jars.
6. And close the jars tightly with sterilized lids, under which the jelly can be stored for a long time, even the whole winter.
7. You can leave one jar of cherry jelly in the refrigerator so you can try it as quickly as possible, and hide the rest in a cool and dark place.
We wish you a pleasant tea party!
Delicious cherry jelly with whole berries in jars
The most delicious and quick-to-prepare jelly that you can not only imagine, but also try. It will especially delight children who love to catch whole berries in jam.
Cooking time: 60 min.
Cooking time: 10 min.
Portions – 5.
Ingredients:
- Cherry – 500 gr.
- Granulated sugar – 150 gr.
- Gelatin – 10 gr.
Cooking process:
1. Let's prepare all the necessary ingredients that we will use in the future.
2. We clean the berries from the tails, rinse them well and remove all the seeds.
3. Sprinkle the prepared berries with granulated sugar and leave at room temperature so that the berries release a little juice.
4. Stir gelatin with a small amount of water and combine with sugar cherries.
5.When the cherry has released its own juice, we send it to simmer over low heat until it boils. Then stir in the swollen gelatin and turn off.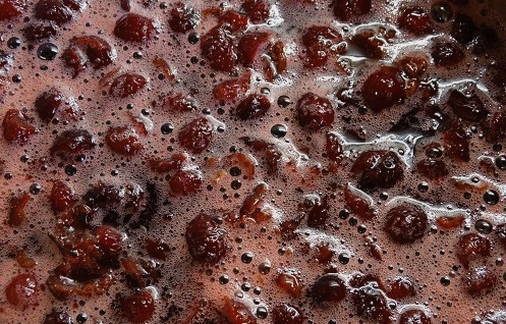
6. Pour the finished jelly into prepared jars and leave it in the refrigerator overnight. After this time, you can try it by adding it to porridge, cottage cheese or making delicious toast in the morning.
We wish you bon appetit!
How to make cherry jelly in your own juice?
Jelly prepared in its own juice can be excellent in consistency and at the same time in concentration. This natural sweetness will lift your spirits and bring pleasant summer notes to the coldest days.
Cooking time: 4 hours.
Cooking time: 10 min.
Servings – 10.
Ingredients:
- Cherry – 1000 gr.
- Granulated sugar – 750 gr.
- Gelatin – 25-30 gr.
Cooking process:
1. Sprinkle all the prepared and peeled cherries with granulated sugar, shake lightly and leave in the refrigerator for several hours so that the cherries release their juice. Since the jam prepares very quickly, we’ll start preparing the jars in advance.
2. 30 minutes before the start of cooking, pour the gelatin with a small amount of cold water and leave it to swell.
3. After three hours, we check the cherries; they should have released juice.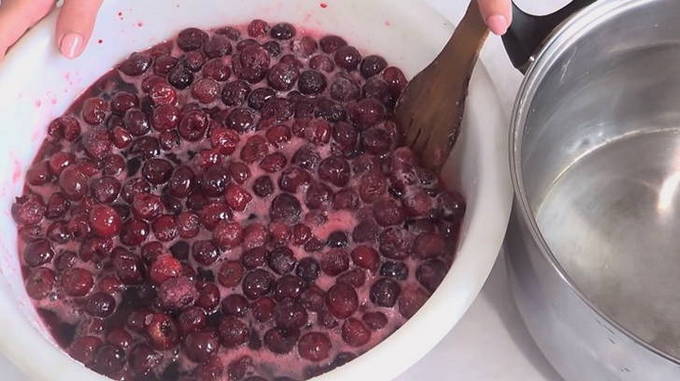
4. And transfer it to a deep pan in which we are going to cook the jam.
5. At the same time, gradually dissolve the gelatin in a water bath.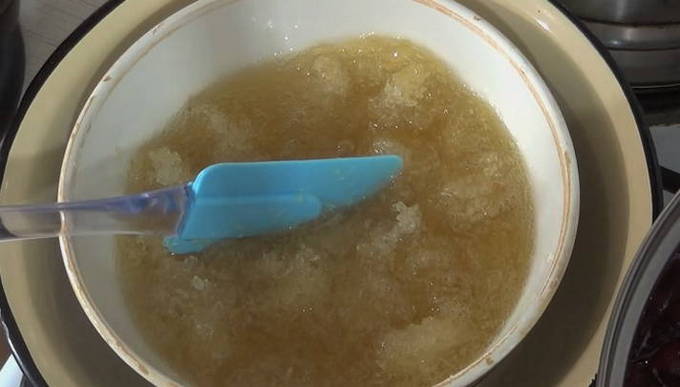
6. Place the pan with the cherries on low heat and bring to a boil. From the moment it boils, leave it to cook for five minutes, slightly reducing the heat.
7. Remove the pan from the heat and pour in the dissolved gelatin, mixing everything well.
8. Pour the finished jelly into prepared jars and roll up the lids.Briefly turn the jar of jam over so that the jelly does not freeze in this form. And leave it for storage in any cool place.
Bon appetit!
Thick cherry jelly without gelatin for the winter
During cherry season, don’t miss the opportunity to prepare a very tasty jelly delicacy without adding various thickeners. The result will pleasantly surprise and delight you. The jelly turns out to be a beautiful dark shade with an excellent uniform consistency.
Cooking time: 50.
Cooking time: 30 min.
Servings – 15.
Ingredients:
- Cherry – 2000 gr.
- Granulated sugar – 750 gr.
- Lemon zest – 1 tsp.
Cooking process:
1. To prepare the jelly, you need to carefully sort out all the berries and remove the seeds.
2. Then put all the prepared berries into a blender bowl and blend at medium speed until smooth.
3. Transfer the cherry mass into a saucepan and cover with granulated sugar. Mix everything well and bring to a boil.
4. Then add the lemon zest, mix and continue to cook the cherries over low heat until the color changes and thickens, constantly skimming off the foam during the process.
5. For the jelly to be completely ready, 20-30 minutes is enough. At this point, the process of making jam is completed, and the jam can be put into jars.
We wish you bon appetit!


